Table of Contents
Advertisement
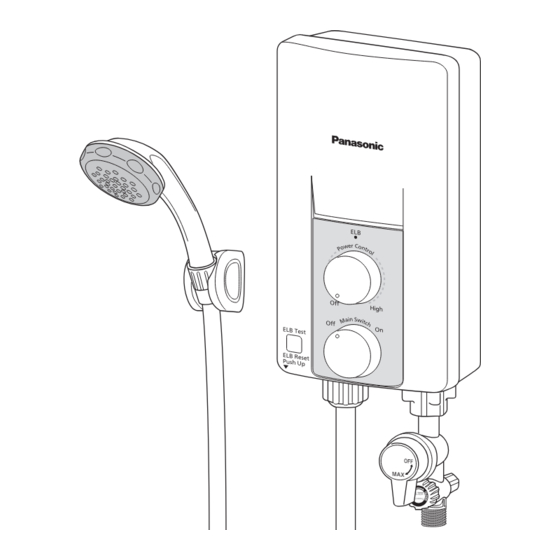
Thank you for purchasing the Panasonic Electric Home Shower. This appliance is intended for household use only.
For optimum performance and safety, please carefully read this Operating Instructions and keep this documentation
in a safe place for future reference.
Operating and Installation Instructions
Electric Home Shower (Household Use)
Model No.
EL B
O ff
H ig h
O ff
E LB T es
O n
t
E LB R es
et
P u sh U
p
OF F
MA X
FILTER
CLEANING
DH-3PL1
DH940A3PL1PA
Advertisement
Table of Contents

Summary of Contents for Panasonic DH-3PL1PH
- Page 1 FILTER CLEANING Thank you for purchasing the Panasonic Electric Home Shower. This appliance is intended for household use only. For optimum performance and safety, please carefully read this Operating Instructions and keep this documentation in a safe place for future reference.
-
Page 2: Table Of Contents
CONTENTS Page No. BEFORE USING ELECTRIC HOME SHOWER 1. SAFETY INSTRUCTIONS 2. PARTS IDENTIFICATION 3. ACCESSORIES HOW TO USE ELECTRIC HOME SHOWER 1. HOW TO USE 2. WATER FLOW RATE ADJUSTMENT 3. MAINTENANCE 4. TROUBLESHOOTING 5. SPECIFICATIONS HOW TO INSTALL ELECTRIC HOME SHOWER 1. - Page 3 WARNING Stop using the Unit when any abnormality/failure occurs and turn "OFF" the Miniature Circuit Breaker (MCB). (Risk of smoke/fire/electric shock/scalding) • The ELB Reset Lever cannot be reset. Please refer to item no. 3. TEST OPERATION at page 11. Example of •...
-
Page 4: Parts Identification
2. PARTS IDENTIFICATION ON/OFF DP (double pole) Switch Built in Electric Leakage Breaker (ELB) Bath Room Earth Parts not included Flexible Cord (Not included) Water Volume Knob Miniature Circuit Breaker (MCB) Back Plate Adjust Holder Front Plate ELB Lamp OF F MA X Shower Head EL B... -
Page 5: How To Use Electric Home Shower
HOW TO USE ELECTRIC HOME SHOWER 1. HOW TO USE 1. Turn the Water Volume Knob clockwise to turn on the water (make sure the Main Water Valve is on). High (Water will flow out from Shower Head at inlet water temperature). ELB Test 2. -
Page 6: Maintenance
3. MAINTENANCE WARNING Switch off the Miniature Circuit Breaker (MCB) before any service to avoid electric shock hazards. (1) Main Body cleaning. Be sure to switch “OFF” the Miniature Circuit Breaker (MCB) beforehand. 1) Clean it with moist cloth. 2) Never use benzene, thinner, detergent, bleach and such. 3) Do not spray water to the Unit, nor put wet towels on it. -
Page 7: Troubleshooting
4. TROUBLESHOOTING (1) Check the following points before asking for repair. Symptom Points to be checked Water is not drawn normally. 1. Check the Filter Unit. Clean the Filter if it is clogged by stain and dirt (refer Filter Unit Cleaning at page 6). 2. -
Page 8: How To Install Electric Home Shower
HOW TO INSTALL ELECTRIC HOME SHOWER WARNING • Proper size of Flexible Cord and electric wiring must be installed to avoid smoke emission and fire hazards. • During installation process make sure electric and water supply is turn "OFF". • The home shower must be permanently connected to the electric supply through the ON/OFF DP (double pole) Switch having a contact separation of at least 3 mm in all poles incorporated in the fixed wiring. - Page 9 3. How to fix Electric Home Shower. ① The distance of the Unit should be more than 250 mm ② Make 4 holes at the wall by means of a drill. from right and left of the wall. ③ Drive a Wall Plug into the hole. 98.5 mm ①...
- Page 10 ④ Earth Rod WARNING The Unit must be earthed. Improper grounding could cause electric shock. • The Unit must be earthed. • Earth Rod fixing procedure. Select suitable place to bury the optional Earth Rod (DQ-6H) for at least 70 cm below ground surface. •...
-
Page 11: Test Operation
6. How to fix the Front Plate Back Plate ① Make sure the Main Switch Knob and Power Control Knob on ① ② Front Plate Front Plate and it is at “Off” position. ② Make sure the “D-Cut” position of the Rotary Shaft and VR Shaft are located as shown. - Page 12 Panasonic Manufacturing Malaysia Berhad. (196501000304) No. 3, Jalan Sesiku 15/2, Section 15, Shah Alam Industrial Site, 40200 Shah Alam, Selangor Darul Ehsan, Malaysia. http://www.panasonic.com Printed in Malaysia © Panasonic Manufacturing Malaysia Berhad 2019 H0919Z1-20621...


