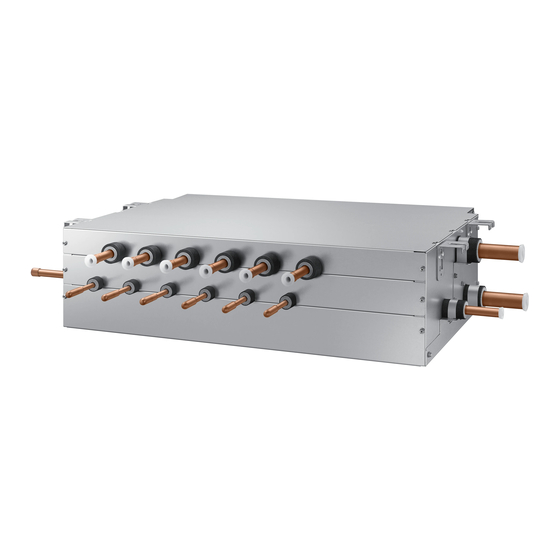
Summary of Contents for Samsung MCU-S6NEK3N
- Page 2 Safety Information Preparation Installation Appendix...
- Page 3 Installation must be done by the installer or its service agent. Install the unit correctly according to the installation manual. When installing the unit in a small place, take measures in order to keep the refrigerant concentration from exceeding allowable safety limits in the event of a refrigerant leak. If any gas or impurities except R-410A refrigerant get into the refrigerant pipe, serious problems may occur and this may cause injury.
- Page 4 When the electric wire is damaged, you must exchange it by the manufacturer or its service agent, or a person When turning on the power, make sure to connect the power supply to the circuit breaker designated for indoor units. (ELCB, ELB, MCCB) on the terminal block.
- Page 5 Make sure to earth. Make sure that the condensed water from the drain hose runs out properly based on this installation manual and insulate the drain pipe so that frost does not generate. Install the power cable and communication cable of MCU at least 1m away from the electric appliances and at least 2m away from the lightning rod.
- Page 6 L'installation doit être faite par l'installateur ou son agent de service. Installez l'appareil conformément au manuel d'installation. Lors de l'installation de l'appareil dans un espace restreint, prenez les mesures appropriées pour éviter que la l'installation.
- Page 7 Installez l'appareil en toute sécurité à un emplacement qui peut supporter son poids. l'appareil. Lorsque vous mettez l'appareil sous tension, veillez à effectuer le raccordement à un disjoncteur conçu pour les unités intérieures. (ELCB, ELB, MCCB) provoquer une traction sur le bornier. Veillez à...
- Page 8 Veillez à effectuer une mise à la terre conforme. Veillez à ce que les condensats s'évacuent correctement par le tuyau de vidange conformément aux givre. Installez la MCU loin de tout dispositif d'éclairage utilisant un ballast. N'installez pas l'appareil dans les lieux suivants. Lorsqu'il y a la possibilité...
- Page 9 Insulation Insulation Installation Pattern Name Cable tie Tube Cap (for pipe) (for base) manual sheet Shape Y-connector Name [ Ø 9.52 mm (3/8"): DB96-23143A ], [ Ø 15.88 mm (5/8"): DB96-23144A ] Shape Outer diameter Minimum thickness Temper grade inch inch...
- Page 10 Outdoor Unit HR Changer Sub MCU Indoor Unit...
- Page 11 Outdoor Unit Indoor Unit Model Description <Side view of MCU> < MCU (MCU-S6NEK3N) >...
- Page 12 <Spaces with developed ceiling> <There is no risk of noise transfer> <There is a risk of noise transfer>...
- Page 14 Unit MCU-S4NEK3N < Serial installation for DVM S ECO > < Parallel installation for DVM S ECO >...
- Page 15 2 3 4 A B C D...
- Page 16 <Fixing the bolt>...
- Page 17 <Good Example of connection> <No Good Example of connection> Exposure place Exposure time Sealing type...
- Page 18 Insulator (Cooling, Heating) General High humidity Outer diameter [30°C (86°F), 85%] [30°C (86°F), over 85%] Pipe Remarks EPDM, NBR inch inch inch...
- Page 20 Power supply MCCB Power cable Earth cable Communication cable...
- Page 21 Nominal dimensions for cable [mm² (inch²)] Nominal dimensions for screw [mm (inch)] Standard dimension [mm (inch)] Allowance [mm (inch)] Standard dimension [mm (inch)] Allowance [mm (inch)] Standard dimension [mm (inch)] Allowance [mm (inch)] Min. [mm (inch)] Min. [mm (inch)] Max. [mm (inch)] Standard dimension [mm (inch)] Allowance [mm (inch)] Min.
- Page 22 Process...
- Page 27 Display segment Display Contents Remarks (Pushed time)
- Page 28 Display segment Display Contents Remarks (Pushed time) Display segment Display Contents Remarks (Pushed time) Display segment Display Contents (Push time)
- Page 29 Item Check...


