Table of Contents
Advertisement
Quick Links
Advertisement
Table of Contents

Summary of Contents for Sony RCC1000
-
Page 1: User Manual
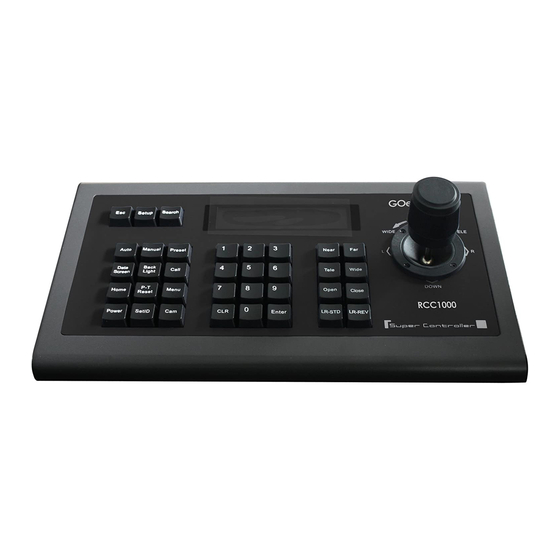
RCC1000 Sony Pan/Tilt/Zoom Camera Controller User Manual... - Page 2 This controller is designed for Sony pan/tilt/zoom cameras and supports VISCA protocol. It has all the functions of the Sony PTZ camera handheld remote controller and adds a touch sensitive joystick control. In addition to the joystick and keyboard, the controller has an LCD screen for displaying commands and the camera's working status.
- Page 3 Preset Positions' for more details.) [Data Screen] Displays on-screen camera menu. At this time, the on-screen menu cannot be controlled with the RCC1000. These functions can be accessed/controlled using the [Menu] key on the controller. See 'Camera Functions' for more details.
- Page 4 All operations of keys and joystick will display on LCD screen when pressed. LCD screen will go into power saving mode (brightness level is reduced) if there is no user activity for more than 30 seconds. RCC1000 user manual | 4...
- Page 5 4 RXD Receive command indicator Flickering green light indicates unit is receiving commands 5 PW Power input indicator Continuous red light indicates unit is powered on 6 DC-12V Power input port DC 12V input port RCC1000 user manual | 5...
- Page 6 Move joystick left or right to select LOCK OFF or LOCK ON. Select LOCK ON and press [Enter]. You will be prompted to enter a Lock Password (LOCK PW). Enter a 4- digit password and press [Enter]. RCC1000 user manual | 6...
- Page 7 ______________________________________________________________________________ Controller Settings Display Press [Search] to display the following information about the controller (move joystick up/down to scroll through dislpay): MODEL: SONY RCC1000 serial number (8-digit) KB ID: Programmable keyboard ID (2-digit) SOUND: Key-press sound status (ON/OFF) LOCK: Keyboard lock status (ON/OFF)
- Page 8 [Esc] to exit. Recalling a Preset Position Select camera ID and press [Call]. Key in the preset number and press [Enter]. Repeat steps to recall other presets or press [Esc] to exit. RCC1000 user manual | 8...
- Page 9 Shutter Mode: Move joystick left or right to select AUTO or MANUAL EXP COMP MODE Exposure Compensation: Move joystick left or right to select OFF or ON SPOT AE MODE Spot Exposure Mode: Move joystick left or right to select OFF or ON RCC1000 user manual | 9...
- Page 10 Auto IR Cut Removable Mode: Move joystick left or right to select OFF or ON Note: If a camera feature is not available for the connected camera, the LCD screen will display 'RE DATA UNKNOWN'. RCC1000 user manual | 10...
- Page 11 ______________________________________________________________________________ Typical Camera Connection Diagram TABLE 1 VISCA RS422 Port Definition RCC1000 user manual | 11...
- Page 12 (TXD IN+), the 1st port of the controller (Ta) connects to the 1st port of the camera (RXD IN-) and the 2nd port of the controller (Tb) connects to the 2nd port of the camera (RXD IN+). RCC1000 user manual | 12...
- Page 13 When using RS232 control, the connection method is the same. The 1st camera's output connects to the 2nd camera's input, the 2nd camera's output connects to the 3rd camera's input, and so on. Use RS232 EVI DS-CABLE to connect camera to camera. RCC1000 user manual | 13...
- Page 14 Verify the baud rate is correct (should match baud rate setting of camera) Verify camera dip switch is correctly set to communication mode being used with RCC1000 (RS232 or RS422) Some cameras can be Verify all connections/wiring is correct per 'Camera controlled but others cannot Connection Details' section in manual.
- Page 15 ______________________________________________________________________________ Go Electronic www.goelectronic.com PO Box 1864 Lake Oswego, OR 97035 customerservice@goelectronic.com RCC1000 user manual | 15...


