Table of Contents
Advertisement
Quick Links
Download this manual
See also:
Installation Manual
Advertisement
Table of Contents

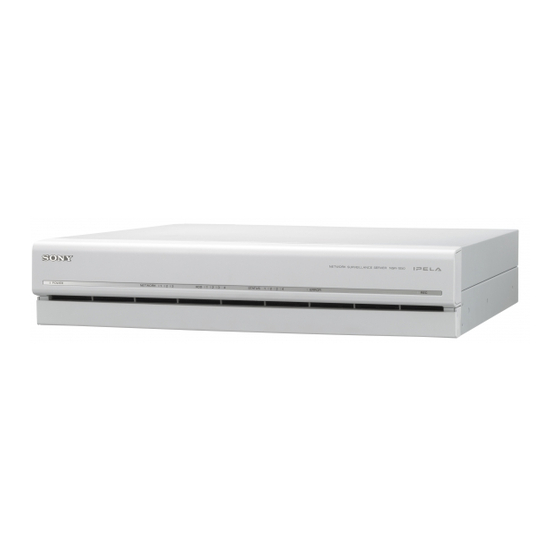
Summary of Contents for Sony NSR 1050H - Standalone DVR - 16 CH
- Page 1 4-130-100-22 (1) Network Surveillance Server First Step Guide NSR Series © 2008 Sony Corporation...
- Page 2 Use this document as a guide for setting up the unit before actual operation. Conditions and usage assumed in this guide • System includes only Sony network cameras and analog cameras. • Pan, tilt, and zoom operations for analog cameras are not used.
- Page 3 • Be sure to read the Safety Regulations (separate document) before installing the unit. • For details on optional NSBK-A16 expansions, contact your Sony dealer. • PDF manuals are included with this unit. For details on how to use the PDF manuals, refer to the Installation Manual (separate document).
-
Page 4: Step 1: Installation
Example) When connecting two HDMI monitors Step 1: Installation Monitor 1 Monitor 2 (operations/settings) (hot spot monitoring) Installing the Unit Before setting up, be sure that the location for installation provides sufficient space and strength to support the unit. For details on installation, refer to the Installation Manual (separate document). -
Page 5: Connecting The Power Cord
Connecting the Keyboard, Mouse and Note System Controller We recommend connecting the cameras in an order that Connect the devices to the USB connectors on the front will make it easy to operate them on the screen. and rear of the unit. Analog camera cable input connector Example) When connecting to the USB connector on the rear... -
Page 6: Step 2: System Setup
Configuring Initial Settings with Step 2: System Setup Setup Wizard When you turn on the unit, the Setup Wizard starts after Turn on the unit and configure initial settings with the the following screen appears. Setup Wizard. Turning On the Unit Press the power switch to turn on the unit. - Page 7 Select a display language, and click [Next]. Set the IP address for each server, and click [Next]. ↓ ↓ Select a language for the keyboard, and click [Next]. Set the IP address for LAN connector 1, and click [Next]. ↓ Select a time zone, and click [Next].
- Page 8 Set the IP address for LAN connector 3, and click Configure settings for monitor 2. [Next]. Select [Auto], and click [Next]. ↓ Caution Select which audio connector to use, and click [Next]. Do not configure LAN connectors 1 to 3 to the same When using audio output from an HDMI monitor, select network segment.
- Page 9 Set the server name, and click [Next]. Verify configurations, and click [Next]. ↓ ↓ Configure analog camera connection settings, and click Click [Finish] when the restart confirmation message [Next]. appears. Select the serial connector standard to which the camera you want to control will be connected, and configure settings such as baud rate and parity bits.
-
Page 10: Step 3: Software Setup
Devices on the same network segment are detected and Step 3: Software Setup registered to the NSR automatically. Log on to NSR, and configure basic settings for automatic camera registration and automatic scheduling. Logging On Enter the user name and password, and click [Logon]. Default user name: admin Default password: admin ↓... - Page 11 Based on the number of cameras that are used and the Step 4: Verification duration that recorded images are stored, the recording bitrates and frame rates for images are as follows. Server Expan- Number Codec (size) Number Bitrate Frame rate sion of days Check whether camera images can be monitored in the...
- Page 12 In the same way, check whether images from all To play back recordings registered cameras can be monitored. Click the monitor frame to which the source camera of the recordings you want to play back is assigned. ↓ Verifying Image Recording and Enter the date and time of the recording you want to play Playback back, and click [GO].
- Page 13 NSR features, refer to the User’s Guide (PDF). Trademarks • “IPELA” and are trademarks of Sony Corporation. • HDMI, , and High-Definition Multimedia Interface are trademarks or registered trademarks of HDMI Licensing LLC. • Other products or system names appearing in this document are trademarks or registered trademarks of their respective owners.


