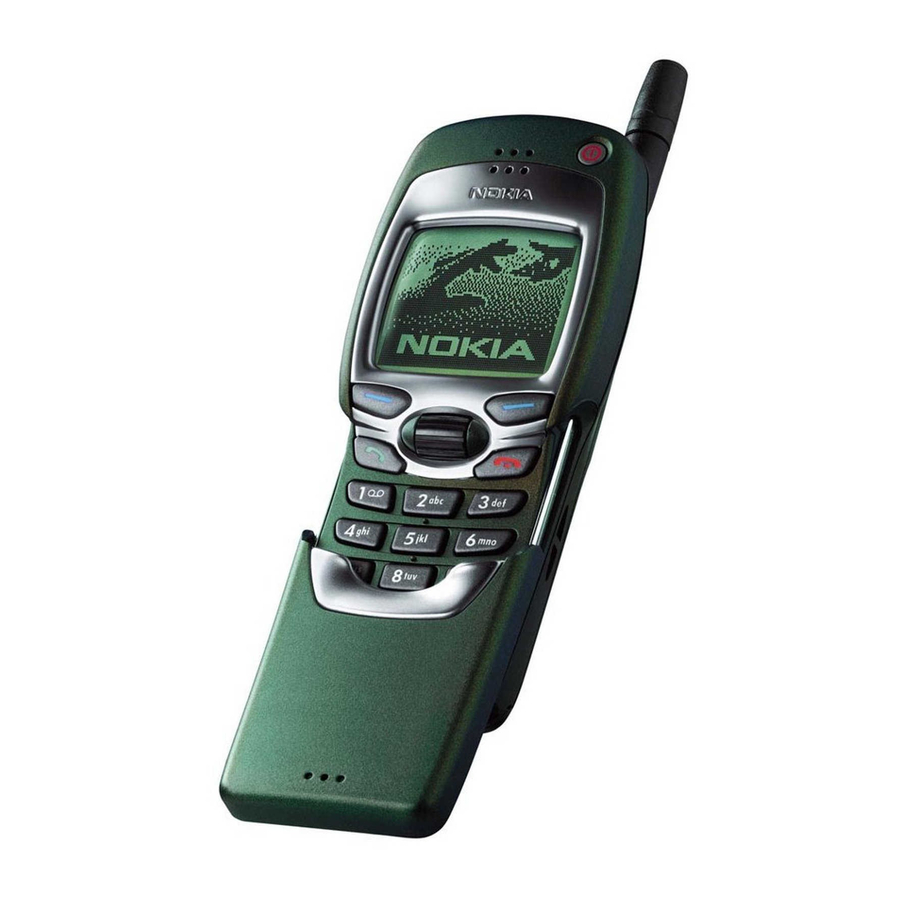
Summary of Contents for Nokia NSE-5 Series
- Page 1 Programmes After Market Services NSE–5 Series Transceivers CARK 64 / 91 Installation Guides Issue 1 07/99...
-
Page 2: Table Of Contents
NSE–5 PAMS Technical Documentation CARK 64 / 91 Installation Guides CONTENTS Cark–64 ............Introduction . -
Page 3: Cark-64
The information given is for general guidance only. The terms of warranty demand that this car kit be installed by an experi- enced installer and only genuine Nokia parts are used. An end user should never attempt to install this car kit without professional assistance as the installation requires special tools and knowledge. -
Page 4: Unpacking
NSE–5 PAMS Technical Documentation CARK 64 / 91 Installation Guides Unpacking Carefully unpack the equipment and ensure that the following items are present. Phone Holder MBC–1 Swivel Mount HHS–9 Mobile Charger LCH–9 Issue 1 07/99 Page 4... -
Page 5: Component Parts
HHS–9, or the mounting plate MKU–1. The mounting must be secured with a screw (included with HHS–9). The screw recess can then be cov- ered with the NOKIA logo plate. Mounting Plate MKU–1 and Swivel Mount HHS–9 MKU–1 is a fixed position mounting plate; HHS–9 is a swivel mount which allows for adjustable fixing. -
Page 6: Cark-91
The information given is for general guidance only. The terms of warranty demand that this car kit be installed by an experi- enced installer and only genuine Nokia parts are used. An end user should never attempt to install this car kit without professional assistance as the installation requires special tools and knowledge. -
Page 7: Unpacking
NSE–5 PAMS Technical Documentation CARK 64 / 91 Installation Guides Unpacking Carefully unpack the equipment and ensure that the following items are present. Advanced Active Car Holder MCC–1 Advanced HF Unit HFU–2 Power Cable PCH–4J Mounting Plate MKU–1 Swivel Mount HHS–9 HF Microphone HFM–8... -
Page 8: Component Parts
The holder is attached to the vehicle’s interior using the swivel mount HHS–9. The mounting must be secured with a screw (included with HHS–9). The screw recess can then be covered with the NOKIA logo plate. Advanced HF Unit HFU–2 The handsfree unit enables the phone to operate in handsfree mode. -
Page 9: Installation
NSE–5 PAMS Technical Documentation CARK 64 / 91 Installation Guides Power Cable PCH–4J The power cable connects the standard handsfree unit HFU–2 to the ve- hicle’s power supply. The red wire must be connected to the + voltage on the vehicle’s power supply via the supplied fused connector. The black wire must be attached to a good negative GND connection. - Page 10 NSE–5 PAMS Technical Documentation CARK 64 / 91 Installation Guides Ignition Sense IGNS The ignition sense feature prevents your car kit from draining the car bat- tery by executing an auto power off in 20 seconds after the ignition key has been turned off.
-
Page 11: Testing
NSE–5 PAMS Technical Documentation CARK 64 / 91 Installation Guides Antenna Motor Control AMC The antenna motor control offers a feature, green wire of the system cable (AMC), that may be used to control different devices on and off. The voltage in this output is +12 V whenever the phone is on. If the phone is turned off, the voltage disappeares. - Page 12 NSE–5 PAMS Technical Documentation CARK 64 / 91 Installation Guides [This page intentionally left blank] Issue 1 07/99 Page 12...


