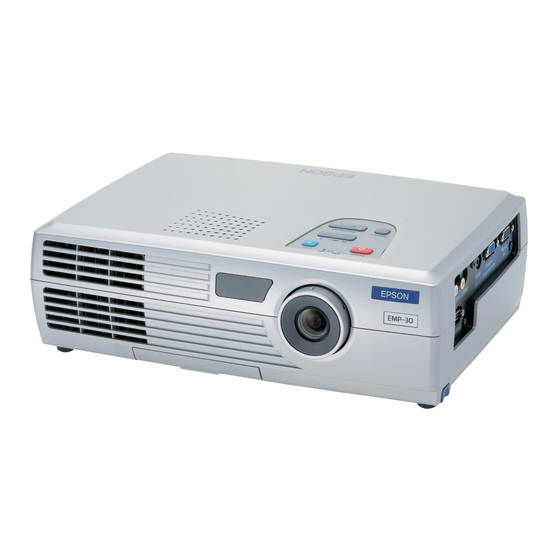
Epson EMP-30 Setup Manual
Multipurpose entertainment projector
Hide thumbs
Also See for EMP-30:
- User manual (68 pages) ,
- Specifications (2 pages) ,
- Brochure & specs (24 pages)
Table of Contents
Advertisement
Quick Links
Advertisement
Table of Contents

Summary of Contents for Epson EMP-30
- Page 1 Before Using the Remote Control Using the Remote Control Remote Control Operating Range Setup Screen Size and Setting-up Distance Setting-up Methods Connecting to a Video Source Connecting to a Computer Printed in Japan 404004700E 02.08-.5A(C05)
-
Page 2: Using The Remote Control
Using the Remote Control When using the remote control for the first time, pull out the insulating tape that is protruding from the battery holder. When the insulating tape is pulled out, the remote control can then be used. The remote control is used in the following way. Remote control Remote control light-receiving area (front) -
Page 3: Remote Control Operating Range
Remote Control Operating Range Use the remote control within the ranges indicated below. If the distance or angle between the remote control and the remote control light-receiving area is outside the normal operating range, the remote control may not work. Operating angle Operating distance Approx. -
Page 4: Screen Size And Setting-Up Distance
Screen Size and Setting-up Distance The distance between the projector and the screen determines the actual image size. Recommended distance : 0.9 – 11.3 m (2.9 – 37.0 ft.) While referring to the table below, position the projector so that the images are projected at the optimum size. - Page 5 Setting-up Methods The projector supports the following two different projection methods, allowing you to choose the best method for displaying your images. After setting up the projector, refer to the User's Guide for details on turning on the power and adjusting settings such as the screen size. ("Basic Operations" in User's Guide) Before setting up the projector, be sure to first read the separate Safety Instructions/World-Wide Warranty Terms .
- Page 6 Getting the best results when projecting movie images This projector comes with an accessory EPSON cinema filter. When this filter is attached to the projector and the "EPSON Cinema Filter" command in the "Video" menu is set to "ON", images such as movie images are automatically adjusted to the optimum tint for viewing.
-
Page 7: Projecting Component Video Images
Projecting Component Video Images If the shape of the connector for the accessory or optional component video cable for the video equipment is a 3RCA male connector To Computer/Component Video port (blue) To component video cable connector Component video cable (accessory) Blue Green... -
Page 8: Projecting Rgb Video Images
Projecting RGB Video Images To Computer/Component Video port (blue) To RGB output port Computer cable (accessory) Change the "Input Signal" setting in the "Video" menu to "RGB" after making the connections. For a RGB connection, a commercially available adapter or converter cable might be required. -
Page 9: Projecting Composite Video Images
Projecting Composite Video Images To Video port To video output port (yellow) RCA video cable (commercially-available) If more than one external component is connected to the projector, use the [Source] button on the projector's control panel or the [S- Video/Video] button on the remote control to select the Video port as the input source. - Page 10 When connecting the projector to a computer, be sure to check the following. Turn off the power for both the projector and the computer before connecting them. If the power for either device is on at the time of connection, damage may result. Check the shapes of the cable connectors and the device ports before making the connections.
-
Page 11: Projecting Images From The Computer
Projecting Images from the Computer To Computer/Component Video port (blue) To monitor port Computer cable (accessory) After projection starts, change the "Input Signal" setting in the "Video" menu to "RGB". ("Video" menu in User's Guide ) If more than one external component is connected to the projector, use the [Source] button on the projector's control panel or the [Computer] button on the remote control to select the Computer port as the input source. -
Page 12: Playing Sound From The Computer
Playing Sound from the Computer To Audio port To audio output port Stereo mini jack audio cable (commercially-available) To adjust the volume, use the "Volume" command in the "Audio" menu. ("Audio" menu in User's Guide ) Connecting to an External Monitor To Monitor Out port (black) Cable provided with monitor...


