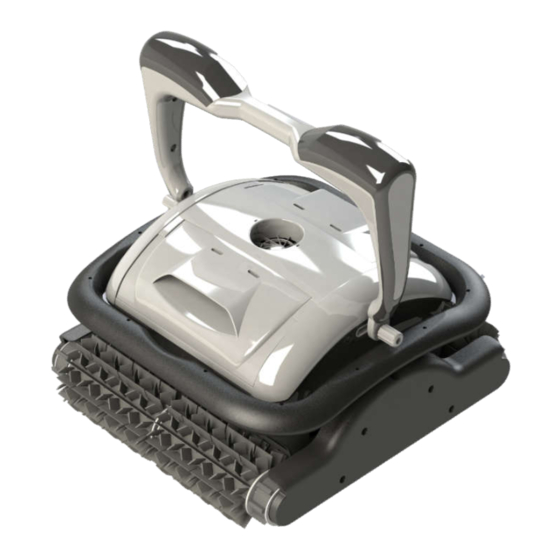
Summary of Contents for Raptor BCZ94
- Page 1 ROBOTIC POOL CLEANER RAPTOR© BCZ94/BCZ94.L (with LED bar) USER MANUAL Thank you for purchasing Robotic Pool Cleaner. If you have any questions or issues, please contact your local dealer for customer service.
-
Page 2: Table Of Contents
Contents Important Precautions ......................... 1 Attention.............................. 3 Introduction..........................4 II. Safety............................4 III. Specifications..........................5 IV. Operations............................ 5 4.1 Panel ............................5 4.2 Remote control (Optional)......................7 4.3 Filter cleaning..........................8 Assembly of transport caddy (Optional)..................9 VI. Packing list..........................10 VII. -
Page 4: Important Precautions
Important Precautions 1. Please read the manual carefully, and use the cleaner according to the manual. We are not held liable for any loss or injury caused by improper use. 2. Please do not allow children to ride on it or play with it as a toy. 3. -
Page 6: Attention
Attention 1. Put into or lift out of the pool with the cleaner bottom towards the wall to avoid any possible scratches to the pool. Hold the top handle and put it into the pool. Let the cleaner immerse into the pool floor after emptying the air inside it (the air inside should be exhausted completely, otherwise its normal working will be affected). -
Page 7: Introduction
I. Introduction The robotic pool cleaner HJ2032/HJ2032L is a new type of highly efficient and energy-saving swimming pool cleaning robot. Through its advanced computer-controlled program, it can clean the pool walls and bottom automatically. At the same time, it filters the pool water and gets rid of suspended particles without replacing the pool water. -
Page 8: Specifications
III. Specifications 1. Rated input voltage: 220VAC (230VAC)/110VAC (120VAC) 2. Frequency: 50Hz/60Hz 3. Output voltage: DC20V 4. Power: 200W 5. Cleaning cycle: 2H/3H/4H 6. Cable length: 18m 7. Filter capacity: appr. 20m³/h 8. Filter density: 10μm 9. Moving speed: appr. 12.5m/min 10. - Page 9 Sign Function Instruction Press this button, the cleaner starts to work; ON/ OFF Power on/ off Press a second time, the cleaner is stopped. When the cleaner is on, press this CYCLE To choose working cycle button to choose preferred working cycle.
-
Page 10: Remote Control (Optional)
4.2 Remote control (Optional) Sign Function Instruction Antenna Signal reception Indicator Indicates status Press the button, then Cleaner running for 3 the cleaner will work hours for 3 hours Press the button, then Cleaner running for 4 the cleaner will work hours for 4 hours Press the button, then... -
Page 11: Filter Cleaning
4.3 Filter cleaning 1. Lift the filter tray 2. Push the buckles towards the middle and move the filter panel outwards Center 3. Clean the filters 4. Slide the filter tray along the groove... -
Page 12: Assembly Of Transport Caddy (Optional)
V. Assembly of transport caddy (Optional) 1. Open the package for assembling 2. Put the connection part onto the plate 3. Insert the wheel axle 4. Assemble the protecting cover and axle cover 5. Assemble wheels 6. Put on the nut 7. -
Page 13: Packing List
VI. Packing list Item Name Model QTY (pc) Remark Cleaner body HJ2032/HJ2032L In carton Power supply HJ2032/HJ2032L In carton User manual & In plastic bag Cleaner safety rope Foam In plastic bag Remote control In plastic bag (Optional) Top handle In carton Connection part In carton... -
Page 14: Warranty
VII. Warranty This product has passed all quality control and safety tests, conducted by the technical department of the factory. Warranty information: 1. The warranty is covered for 24 months (only for motors and PCB) from the date of its original purchase.


