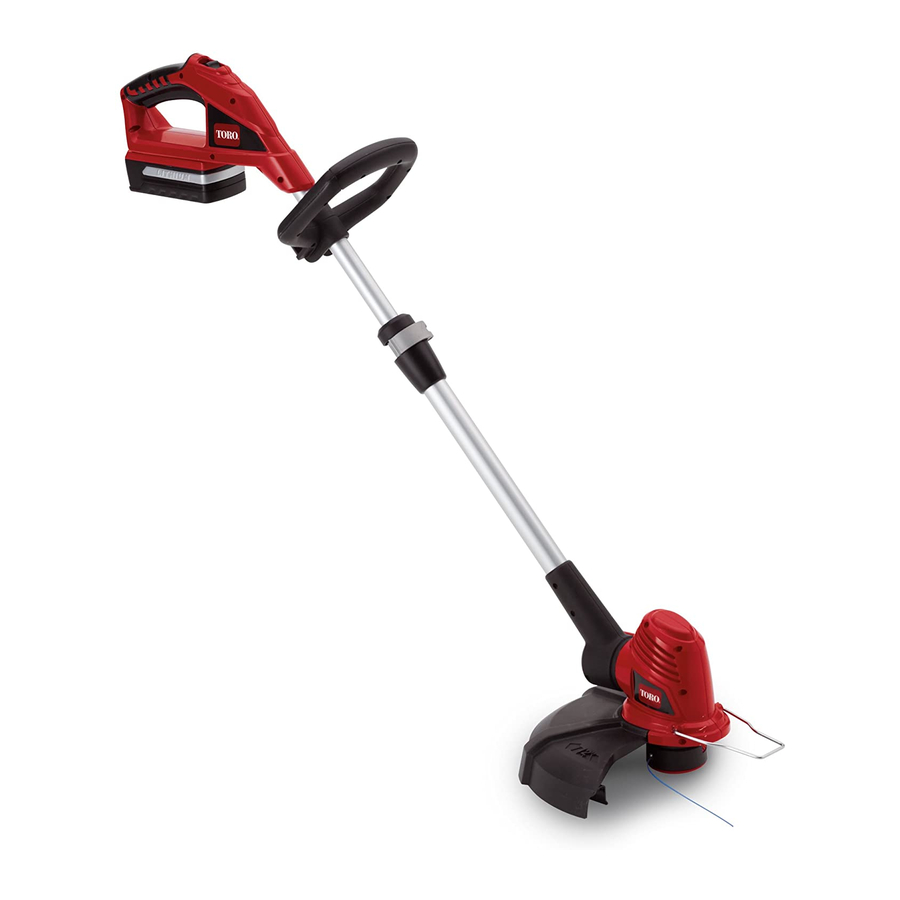
Toro 51484 Operator's Manual
12in cordless single-line trimmer
Hide thumbs
Also See for 51484:
- Operator's manual (41 pages) ,
- Operator's manual (9 pages) ,
- Operator's manual (13 pages)
Summary of Contents for Toro 51484
- Page 1 Form No. 3449-233 Rev A 12in Cordless Single-Line Trimmer Model No. 51484—Serial No. 321013101 and Up Model No. 51484T—Serial No. 321000001 and Up *3449-233* Register at www.Toro.com. Original Instructions (EN)
- Page 2 Keep bystanders and children away from the designed to use Toro lithium-ion battery pack Model operating area. 88502 (provided with Model 51484). This battery pack is designed to be charged only by battery charger Use only the battery pack specified by Toro.
- Page 3 Dress properly—Wear appropriate clothing, incinerate it. Replace the battery pack with a including eye protection; long pants; substantial, genuine Toro battery pack only; using another slip-resistant footwear; rubber gloves; and type of battery pack may cause a fire or risk of hearing protection.
- Page 4 Store an idle appliance indoors in a place that is dry, secure, and out of the reach of children. Do not dispose of the battery in a fire. The cell may explode. Check with local codes for possible special disposal instructions. SAVE THESE INSTRUCTIONS...
-
Page 5: Safety And Instructional Decals
Safety decals and instructions are easily visible to the operator and are located near any area of potential danger. Replace any decal that is damaged or missing. Symbol Name Designation/Explanation Direct current Type of current Volts Voltage Model 51484 Model 51484T decal145-3146 decal145-3139 145-3146 145-3139 decal139-5210 139-5210 1. Warning—read the Operator’s Manual; stay away from moving parts;... - Page 6 decal121-7691 121-7691 decal125-3279 125-3279 decal125-3295 125-3295...
-
Page 7: Installing The Auxiliary Handle
Setup Loose Parts Use the chart below to verify that all parts have been shipped. Procedure Description Qty. Auxiliary handle Latch Installing auxiliary handle. Brace Guard Mounting the guard to the base of the trimmer. Phillips screw Wire edge guard Installing the edge guard Adjust the auxiliary handle, trimmer –... -
Page 8: Installing The Guard
Installing the Guard Installing the Edge Guard Parts needed for this procedure: Parts needed for this procedure: Guard Wire edge guard Phillips screw Procedure Procedure Insert the ends of the wire edge guard into the holes in the trimmer housing as shown in Figure Remove the Phillips screw that is taped to the guard... - Page 9 Adjusting the Auxiliary Handle, Trimmer Height, and Base Position g017507 Figure 5 1. Rotator button No Parts Required Procedure • To adjust the auxiliary handle height, release the auxiliary handle latch, slide the auxiliary handle up or down to the desired height, then secure the auxiliary handle in place by closing the auxiliary latch (Figure...
-
Page 10: Operation
Operation Important: The battery pack is not fully charged when it is purchased. Before using the trimmer for the first time, place the battery pack in the charger and charge until the LED indicators turn green. Make sure to read all safety precautions. With regular use, it will need shorter charging time. -
Page 11: Advancing The Line
Refer to the table below to interpret the LED indicators on the battery charger. Bottom Indicates Battery pack is charging Green Battery pack is charged Orange Battery pack is too warm: Remove for approximately 30 minutes Advancing the Line Note: The trimmer is equipped with an auto-feed head. -
Page 12: Operating Tips
Trimming Operating Tips • Keep the trimmer tilted toward the area being cut; this is the best cutting area. • The string trimmer cuts when passing the unit from left to right. This will avoid throwing debris at you. • Use the tip of the string to do the cutting;... -
Page 13: Maintenance
To install the new spool, ensure that the string is string. Use original manufacturer’s replacement string captured in one of the retaining slots on the new for best performance (Toro Part No. 88532 or 88524). spool. Make sure the end of the string extends Important: approximately 6 inches (152 mm). -
Page 14: Preparing The Battery Pack For Recycling
For more information on recycling lithium-ion battery packs and to locate the battery recycling facility closest to you, visit www.Call2Recycle.org (US and Canada only). If you are located outside of the US and Canada, please contact your authorized Toro distributor. g015662 Figure 14 1. Spool 2. - Page 15 Storage • Clean all foreign material from the product. • Store it in a well-ventilated place that is inaccessible to children. • Keep away from corrosive agents such as garden chemicals and de-icing salts.
-
Page 16: Troubleshooting
Troubleshooting Perform only the steps described in these instructions. All further inspection, maintenance, and repair work must be performed by an authorized service center or a similarly qualified specialist if you cannot solve the problem yourself. Using the battery when it is hot can reduce the operating time. The battery automatically stops working when it is overheated to prevent damage to it. - Page 17 Notes:...
- Page 18 Notes:...
- Page 19 While the exposure from Toro products may be negligible or well within the “no significant risk” range, out of an abundance of caution, Toro has elected to provide the Prop 65 warnings. Moreover, if Toro does not provide these warnings, it could be sued by the State of California or by private parties seeking to enforce Prop 65 and subject to substantial penalties.


