Advertisement
Advertisement
Table of Contents

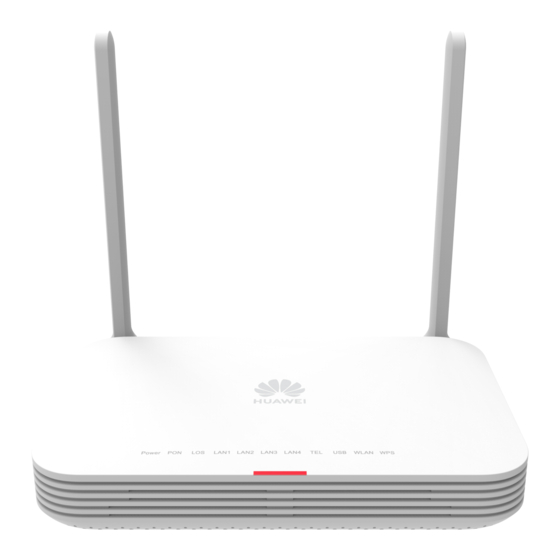
Summary of Contents for Huawei OptiXstar HG8145X6
- Page 1 Huawei OptiXstar HG8145X6 GPON Terminal Quick Start...
-
Page 2: Safety Precautions
Safety Precautions To use the device properly and safely, read the safety precautions carefully before using the device and strictly observe these precautions when using the device. Safety precautions: Do not look directly into the optical port without eye protection. ... -
Page 3: Packing List
1 Packing List The following table lists the items in the product package. Item Quantity GPON Terminal Power Adapter Ethernet Cable Fiber Patch cord If you find anything missing or damaged, contact the service provider. 2 Product Overview Product Function ... -
Page 4: Hardware Installations
4 Hardware Installations Step 1 Use an optical fiber to connect the optical port on the ONT. -The fiber connector connected to the optical port depending on actual conditions. -To ensure normal use of fibers, make sure that the fiber bend radius is larger than 30 mm. Step 2 Use a network cable to connect the LAN port to a PC or the Ethernet port on the IP STB. - Page 5 The connections between the HG8145X6 and other devices are shown as follows. Optical port POTS port Ethernet port USB port Power port Power switch Reset WPS switch WLAN switch...
- Page 6 The following table describes the interface of the device: Port/Button Description Indicates VoIP telephone ports (RJ-11), used to connecting to the ports on telephone sets. Ethernet RJ-45 interface connecting to an Access Point. USB host port, used to connect to USB storage devices. Interface connecting to the power adapter.
-
Page 7: Web Configuration
Web configuration Configure IP Address of Network Card Configure TCP/IP properties of your network card to Obtain an IP address automatically from ONT, or set the IP address of the computer with the same network mask of the ONT. The default management IP address and subnet mask of the GPON terminal are as follows: -IP address: 192.168.1.1 -Subnet mask: 255.255.255.0 5.2 Internet Settings... - Page 8 Step 3 In the Quick Configuration page appears pop-up "Save Completed", click OK to close this page. Step 4 In the Quick Configuration page that is displayed, click Close to close this page.
- Page 9 5.3 Wireless Settings Step 1 Open the Internet Explorer (IE) browser and enter http://192.168.1.1. Step 2 In the login window, enter the user name, password (see the device nameplate for the default user name and password) and validate code. Step 3 Click Login. After the password is authenticated, the Web configuration window is displayed.
- Page 10 2.4G Basic Network Settings: 5G Basic Network Settings: Step 6 Click Apply.
-
Page 11: Indicator Descriptions
6 Indicator Descriptions Table 1 Indicator status description 1 Indicator Status Description Steady on The WPS function is enabled. Blinking A Wi-Fi terminal is accessing the system. The WPS function is disabled. Steady on The WLAN function is enabled. Blinking WLAN Data is being transmitted on the WLAN port. - Page 12 Table 2 Indicator status description 2 Status Status Description The ONT is prohibited by the upper-layer device, contact the service provider for help. The ONT attempts to set up a connection Blinks twice a with its upper-layer device. second A connection is set up between the ONT and its Steady on upper-layer device.


