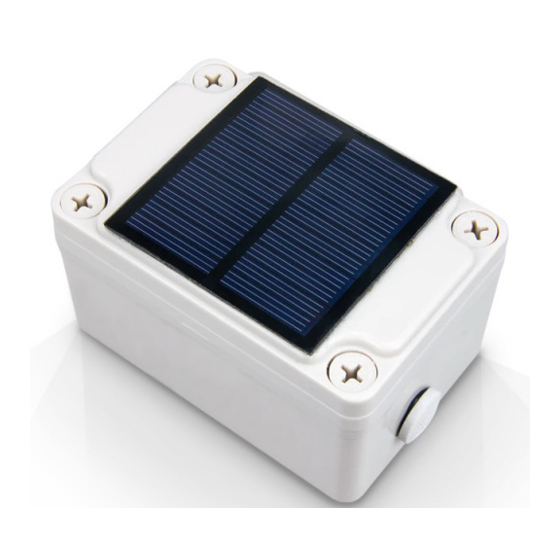
Summary of Contents for RAK 7205
- Page 1 Installation Guide for LoRa Tracker Device built-in RAK5205 with Tracker Node Enclosure Version V1.0 | January 2019 www.RAKwireless.com Visit our website for more documents. 8 PAGES...
-
Page 2: Table Of Contents
7205 Table of Contents 1 Assembly list............................. 3 2 Assembly..............................4 3 Installation..............................7 4 Contact Information..........................9 5 Revision History............................. 10 6 Document Summary..........................10 RAK7258 Installation Guide V1.0... -
Page 3: Assembly List
7205 Assembly list Enclosure (1x) Installation Kit(1x) LoRa Antenna (1x) GPS Antenna (1x) Supporting plate (1x) Cable Gland Covers (4xM16, 2xM12) PCB(1x) Battery and Adhesive Glue RAK7258 Installation Guide V1.0... -
Page 4: Assembly
7205 Assembly Step 1: Assemble the cover according to different requirements: If there are no solar panels, plug the opening of the cover with M16 Dome plug. 2) If solar panel is needed, stick it to the cover with silicon glue. - Page 5 7205 Step 4: PCB was fixed with three M2.5*4 screws. Step 5: The Lora and GPS antennas are pasted into the bottom shell, in which the LORA antenna is pasted above the M12 Dome plug and the GPS is pasted on the short side.
- Page 6 7205 Step 7: Plug the connector of the battery into the socket of the PCB. (If you use solar panels, then connect the cable to the PCB). Then fix the supporting plate on the standoff with two M2.5*4 screws. Adhesive double-sided glue on the surface of the battery, and Adhesive the battery to the supporting plate.
-
Page 7: Installation
7205 Installation 3.1 Wall Mounting Step 1: Fix the installation kit on the bottom of the enclosure with four M5*10 screws; Step 2: Use Ø5mm drill head, drill 4 holes on the wall according to the dimension of the following picture and then plug the srew anchors in the wall;... - Page 8 7205 Step 3: Use the tapping screws, attach the device to the wall. 3.2 Pole Mounting Step 1: Fix the installation kit on the bottom of the enclosure with four M5*10 screws; Step 2: Slide the Steel band clamps through the rectangular hole of the mount kit, wrap the band clamps around the pole, lock them and then tighten the clamps using a screwdriver.
-
Page 9: Contact Information
7205 Contact Information Shenzhen Business ken.yu@rakwireless.com Room 506, Bldg B, New Compark, Pingshan First Road, Taoyuan Street, Nan shan District, Shenzhen Shenzhen Technical steven.tang@rakwireless.com 0755-86108311 Room 506, Bldg B, New Compark, Pingshan First Road, Taoyuan Street, Nan Shan District, Shenzhen... -
Page 10: Revision History
7205 Revision History Revision Description Date Initial version 2019-01-15 Document Summary Document Name: Installation Guide Indoor LoRa Gateway RAK7258 Product Name: Indoor LoRa Gateway Release Date: January 2019 Revision Number: V1.0 Prepared by Checked by: Approved by: Zenglei & Penn...


