Advertisement
Quick Links
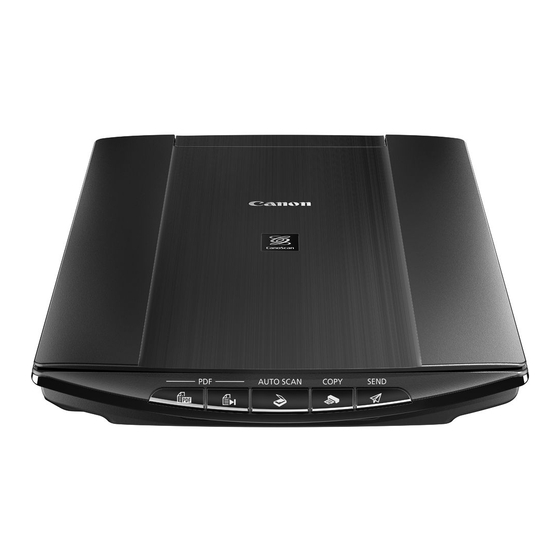
Using the Canon LiDE 220 Scanner
1. Document cover
Presses down the placed item.
2. Scanning unit
The main part of the scanner that emits light and scans items
3. Platen
Place the item to be scanned
4. Alignment mark
Align a corner of the item with this mark
5. Scanner buttons
You can scan easily according to your purpose by simply
pressing a button
Advertisement

Summary of Contents for Canon LiDE 220
- Page 1 Using the Canon LiDE 220 Scanner 1. Document cover Presses down the placed item. 2. Scanning unit The main part of the scanner that emits light and scans items 3. Platen Place the item to be scanned 4. Alignment mark Align a corner of the item with this mark 5.
- Page 2 Scanner Buttons The five buttons on the scanner are referred to as scanner buttons. You can create PDF files, print items, send images, etc. by simply placing the item on the platen and pressing a scanner button. Important Of the five buttons available on the scanner two buttons have been disabled and will not work.
-
Page 3: Place The Item On The Platen
Note The following scanner buttons have been disabled and will not work. COPY Button Scans items and prints them on a printer. SEND Button Scans items and attaches the scanned images to an e-mail or sends them to an application. Place the Item on the Platen 1. - Page 4 Important Be sure to observe the following when placing the item on the platen. The scanner may not work correctly or the glass ma break. Do not place any objects weighting 4.4lb (2 kg) or more on the platen. ...
- Page 5 Scanned images are saved in the folder set for Save in in the Settings (AUTO SCAN) dialog box displayed by clicking Settings…. In the Settings (AUTO SCAN) dialog box, you can also make advanced scan settings. For more information on how to use the scanner please see the Canon LiDE 220 Manual.


