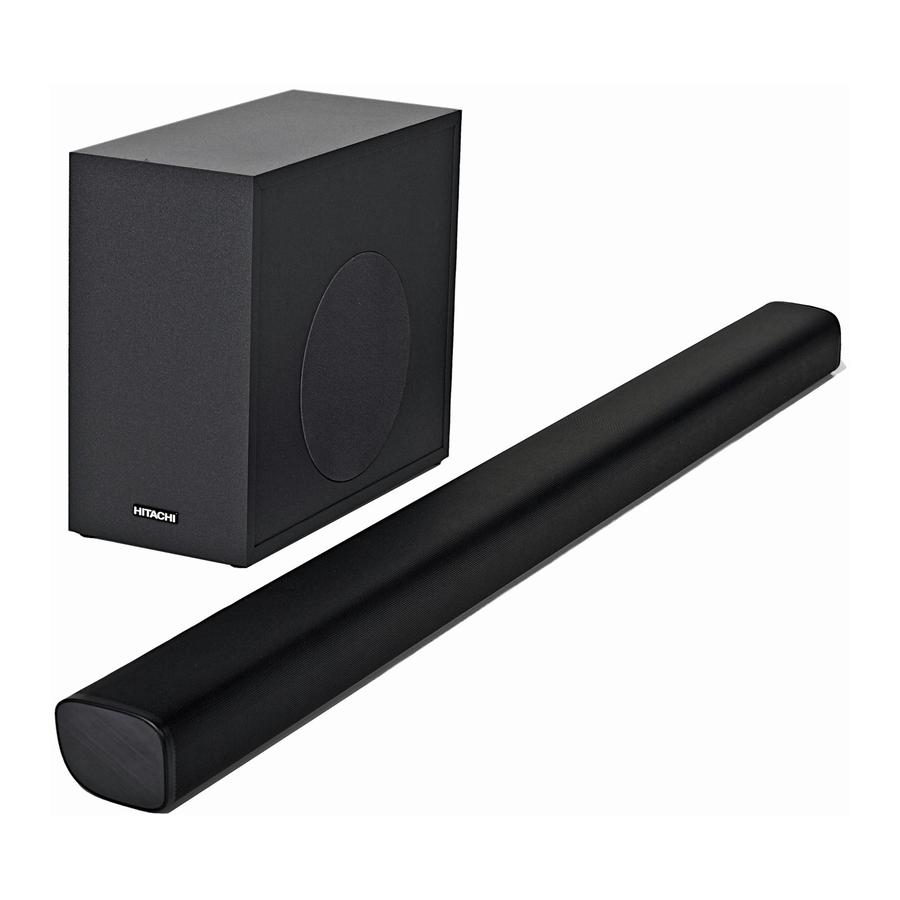
Summary of Contents for Hitachi AXS240BTU
- Page 1 AXS240BTU 706/4575(D) For any help concerning set up and use of your sound bar Please call the Customer Helpline: 0345 604 0105...
- Page 3 Supervision Support Warning Guarantee...
- Page 5 • Read all the instructions carefully before • Do not operate the unit with wet hands. using the unit and keep them for future Ventilation reference. • the ventilation should not be impeded by • Retain the manual. If you pass the unit covering the ventilation openings with onto a third party make sure to include this items, such as newspapers, table-cloths,...
- Page 6 Service • The adapter shall be installed near the equipment and shall be easily accessible. • To reduce the risk of electric shock, do not Use only power supplies listed in the remove screws. The unit does not contain user instructions. any user-serviceable parts.
- Page 7 HITACHI Europe Ltd., declares that the radio equipment type soundbar is in compliance with Directive 2014/53/EU. The full text of the EU declaration of conformity is available at the following internet address: https://estadoc.hitachi. eu/estadoc/index.htm...
- Page 8 Unpacking AXS240BTU 706/4575 For any help concerning set up and use of your sound bar Please call the Customer Helpline: 0345 604 0105...
- Page 9 1. LED Indicators 4. Bluetooth Show the current status. Blue indicator. 2. Remote Control Sensor 5. COAXIAL/OPTICAL Receive signal from the remote control. Coaxial:Green indicator. Optical:White indicator. 3. Standby / Subwoofer Red indicator. 6. HDMI (Standby: solid, subwoofer: to pair with Amber indicator.
- Page 12 A warning that batteries (battery pack or batteries installed) shall not be exposed to excessive heat such CAUTION Danger of explosion if battery is incorrectly replaced. Replace only with the same or equivalent type.
- Page 15 For a single remote use when connected to a Hitachi TV please carry out the following: (Please check your user manual for other manufacturers TV as this may not be the same.) Connect HDMI cable to ARC supported HDMI port of TV set, Set Speaker as Amplifier (Menu >>...
- Page 16 Method 3: AUX Connection Connecting an MP3 Player se a 3.5mm to 3.5mm stereo audio cable (included) to connect the soundbar’s AUX to the headphone socket of the external device. If the input to the soundbar is fed from the TV’s headphone socket, then to prevent speaker from going into standby it is recommended to have the TV volume set to at least 50% of its range and to use the soundbar remote to control volume.
- Page 17 To the mains socket...
- Page 18 If the automatic pairing fails or the subwoofer is switched OFF, the red indicator will rapidly blink. Ensure that all the cables are well connected, the main unit and the subwoofer is switched to On mode. If it still doesn’t work, pair the subwoofer with the soundbar manually.
- Page 19 seconds and the unit will return to the last used mode...
- Page 20 white and green indicator will become solid.
- Page 21 AXS240BTU AXS240BTU To disconnect the Bluetooth® function, switch to another function on the unit or disable the function from your Bluetooth® device. You may also press and hold SOURCE on the unit or PAIR First time pairing“ above to pair your Bluetooth® device.
- Page 23 AXS240BTU Model AXS240BTU AQUIL STAR PRECISION INDUSTRIAL (SHENZHEN) CO., LTD. ASSA30B-180200 AC 100 - 240 V~ 50/60 Hz, 1A Output DC 18 V Main Unit Main Unit Input DC 18 V Ecodesign Information (Soundbar) Information on Power Consumption < 0.5 W...
- Page 24 Power consumption in network standby if all wireless network ports are activated How to activate wireless network port: • Connect the unit with power • Switch to wireless mode (e.g. Bluet How to deactivate wireless network port: • Press the Standby button Bluetooth®...


