Table of Contents
Advertisement
Advertisement
Table of Contents

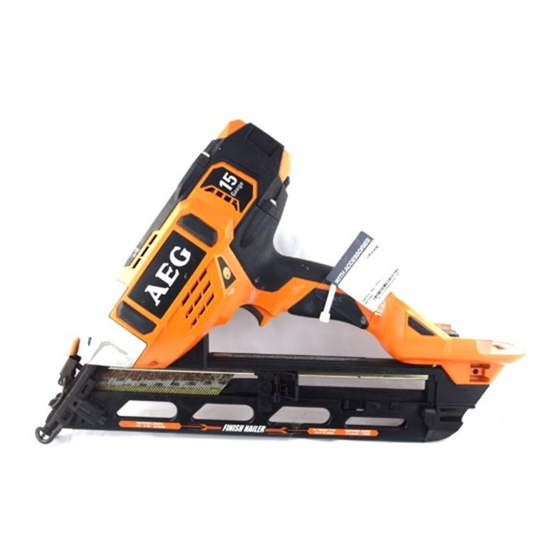
Summary of Contents for AEG AFNDA18
- Page 1 AFNDA18 Original Instructions...
- Page 3 Important! It is essential that you read the instructions in this manual before operating this machine. Subject to technical modifications.
- Page 4 Fig. 1 Fig. 4 Nail diameter .069 in. Code DA15 1-1/4 DA17 1-1/2 DA19 1-3/4 DA21 DA23 2-1/4 DA25 2-1/2 Fig. 5 A - Belt hook G- Depth of drive adjustment B - Trigger H- Angled magazine C- Jam release I - Battery D- No-mar pad J - Charger...
- Page 5 Fig. 7 Fig. 9 Fig. 11 A - Drive depth adjustment dial B - To decrease depth C - To increase depth Fig. 10 A - Trigger mode selector A - Jam release B - Single sequential actuation mode B - Latch C - Contact actuation mode Fig.
-
Page 6: Product Specifications
of the tool may result in personal injury. PRODUCT SPECIFICATIONS ■ Do not overreach. Keep proper footing and balance at all Motor 18 Volt DC times. Proper footing and balance enable better control of the tool in unexpected situations. Fastener Type 15 gauge DA type 34 degree finish nails ■... -
Page 7: Specific Safety Rules
parts. Follow instructions in the Maintenance section of Following this rule will reduce the risk of electric shock. this manual. Use of unauthorized parts or failure to follow ■ For best results, your battery tool should be charged in a Maintenance instructions may create a risk of shock or location where the temperature is more than 50°F but less injury. -
Page 8: Packing List
operation as accidental actuation may occur, possibly ■ Operator’s manual causing injury. ■ Safety glasses ■ Choice of triggering method is important. Check manual for triggering options. SPECIFIED CONDITIONS OF USE ■ Do not point the tool toward yourself or anyone whether it contains fasteners or not. - Page 9 TO REmOvE bATTERy PACk This tool is shipped from the factory with the trigger mode selector set in the Single Sequential Actuation mode. The See figure 2. trigger mode selector can also be set for Contact Actuation ■ Locate latch on the back of battery pack and depress to mode.
-
Page 10: Maintenance
Use only AEG accessories and spare parts. Should components need to be replaced which have not been described, please contact one of our AEG service agents (see our list of guarantee/service addresses). If needed, an exploded view of the tool can be ordered. Please state the Article No. - Page 12 AEG Electric Tools Max-Eyth-Straße 10 D-71364 Winnenden Germany...


