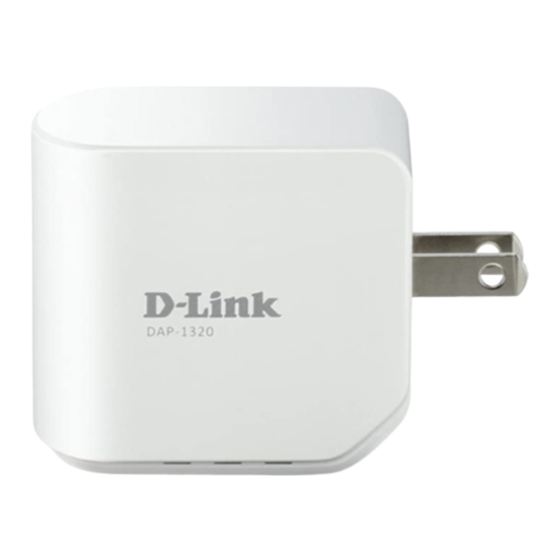
D-Link DAP-1320 Manual
Wireless range extender
Hide thumbs
Also See for DAP-1320:
- User manual ,
- Quick installation manual (96 pages) ,
- Manual (17 pages)
Advertisement
Available languages
Available languages
Quick Links
Download this manual
See also:
User Manual
Wireless Range Extender
DAP-1320
Thank you for purchasing the DAP-1320 Wireless Range Extender.
Follow the easy steps in this guide to properly set up your router.
Package Contents
• DAP-1320 Wireless Range Extender
• Wi-Fi Configuration Card
• Quick Install Guide
If any of the above items are missing, please contact your reseller.
Product Overview
Wi-Fi Protected Setup
Power/Status LED
(WPS) Button
Reset Button
(on bottom)
LED
Color
Status
Description
Solid
Successfully connected to a wireless router or AP.
Green
The device is processing a connection when the
Blinking
WPS button is pushed.
Solid
The device has a poor connection to the router
Power/Status LED
Amber
Blinking
Not connected to a wireless router or access point.
Red
Solid
The device is booting up.
The device is not receiving power. Try a different
Off
outlet.
Before You Begin
• Make sure to verify the area that you want to plug the repeater into has
a solid connection to your router. Use a wireless laptop, tablet, or mobile
phone in that area to test the connection.
• If your wireless router or access point does not support WPS, follow
the steps on the other side of this QIG to connect to the DAP-1320 and
run the Setup Wizard. If you are not sure how to enable WPS on your
wireless router, please refer to your router user manual.
Recommended Placement
!
!
Ideal
Poor
location
location
Ideal
Poor
location
location
!
!
!
!
Wi-Fi
Wireless
Dead Zone
Router
A Range Extender only works as well as the signal it is extending.
Therefore, proper placement of your DAP-1320 is important in
achieving desired results.
Ideal Placement
Wireless
Router
For best performance, place your DAP-1320 in between your
router and your dead zone, making sure it's placed in a location
where the signal is still strong.
Connect to Your Router Using WPS
Find an available outlet near your wireless router. Plug the
1
DAP-1320 in and wait until the LED is blinking amber.
DAP-1320
2
Press the WPS button on your wireless router.
3
Within one minute, press the WPS button on the DAP-1320.
The LED will start to blink.
When the LED turns solid green, this indicates that the DAP-1320 is
securely connected to your wireless router or access point. If the LED is
solid amber, the DAP-1320 is too far from your router. Try moving it to a
closer location.
You can now unplug and move the DAP-1320 to a location
4
between your wireless router and the area that you need
wireless coverage.
Connect Your Wireless Devices
5
From your wireless device, go to the Wireless Utility to display
the available wireless networks and select the Wi-Fi Network
Name (SSID) for the DAP-1320.
When using WPS to connect to the router, the SSID on the
DAP-1320 will automatically be assigned the following:
(Your Router's SSID)-EXT
The Wi-Fi password for your router will be the same password
for the DAP-1320.
To connect additional Wi-Fi devices to the DAP-1320, repeat
this step.
Your device is now connected to the DAP-1320 and can
6
connect to your wireless router. If you want to change your
network settings, password, etc., follow the steps on the
back to connect and configure the DAP-1320. To connect
additional devices, repeat step 5.
Your setup is complete!
Advertisement

Summary of Contents for D-Link DAP-1320
- Page 1 If the LED is additional devices, repeat step 5. the steps on the other side of this QIG to connect to the DAP-1320 and For best performance, place your DAP-1320 in between your solid amber, the DAP-1320 is too far from your router.
- Page 2 Copyright ©2015 D-Link Corporation/D-Link Systems, Inc. All rights reserved. D-Link and the D-Link logo are registered trademarks of D-Link Corporation or its subsidiaries in the United States and other countries. iPhone, iPad, and iPod touch are registered trademarks of Apple Inc. Android is a trademark of Google, Inc.
- Page 3 étapes à l’arrière pour connecter et • Si votre routeur ou point d'accès sans fil ne prend pas en charge le WPS, Lorsque le voyant reste allumé en vert, cela indique que le DAP-1320 est configurer le DAP-1320. Pour connecter des périphériques Contactez votre revendeur s'il manque l'un des éléments ci-dessus.
- Page 4 Les caractéristiques du produit, sa taille et sa forme sont soumises à modification * L'adresse IP par défaut est 192.168.0.50. Une fois que le DAP-1320 se connecte à votre routeur, sans préavis et l'apparence réelle du produit peut différer de celle illustrée sur la boîte. Consultez le il obtiendra une nouvelle adresse IP basée sur les paramètres DHCP votre routeur/réseau.


